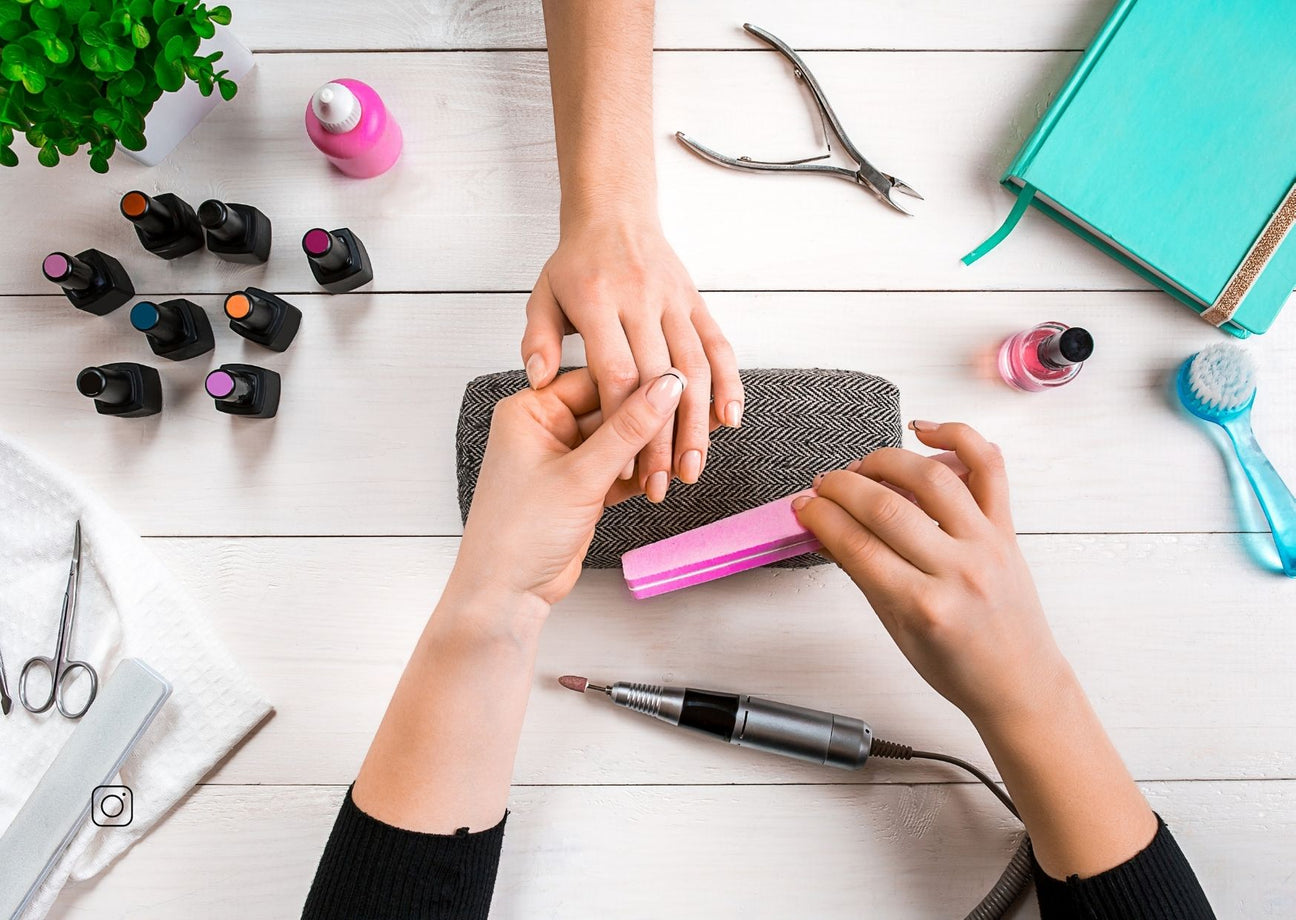
How to do a manicure at home step by step?

Hello Lolitas 💗 Today we bring you a basic guide to giving yourself a quality and, above all, long-lasting manicure.
Of course, you'll need patience, because many of us do the same thing about doing our nails and then immediately going to tinker with things around the house, and it's a mistake. In fact, if you do it at night, you'll probably wake up with nails marked by the sheets. We recommend doing your manicure in the morning, and above all, being patient for the different layers to dry.
We don't need a lot of tools for a good manicure, so without further ado, let's begin this "step by step" and we warn you that we're going to explain ourselves in detail:
1. Before the manicure: moisturize your hands
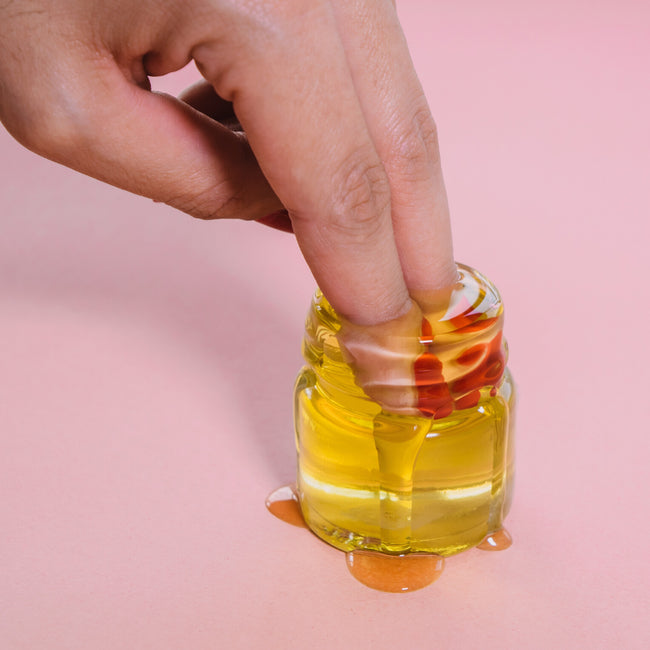
It'll be great if the night before you get your manicure, you moisturize your hands well with, for example, an olive oil remedy. We've dedicated an entire post to this, but you can also put olive oil in a small bowl, heat it for a few seconds (just to make it lukewarm), and then soak your nails in it for about 15 minutes, then dry without using water. You'll moisturize your nails and cuticles and prepare the perfect canvas for your manicure. If you're in a hurry, you can skip this step.
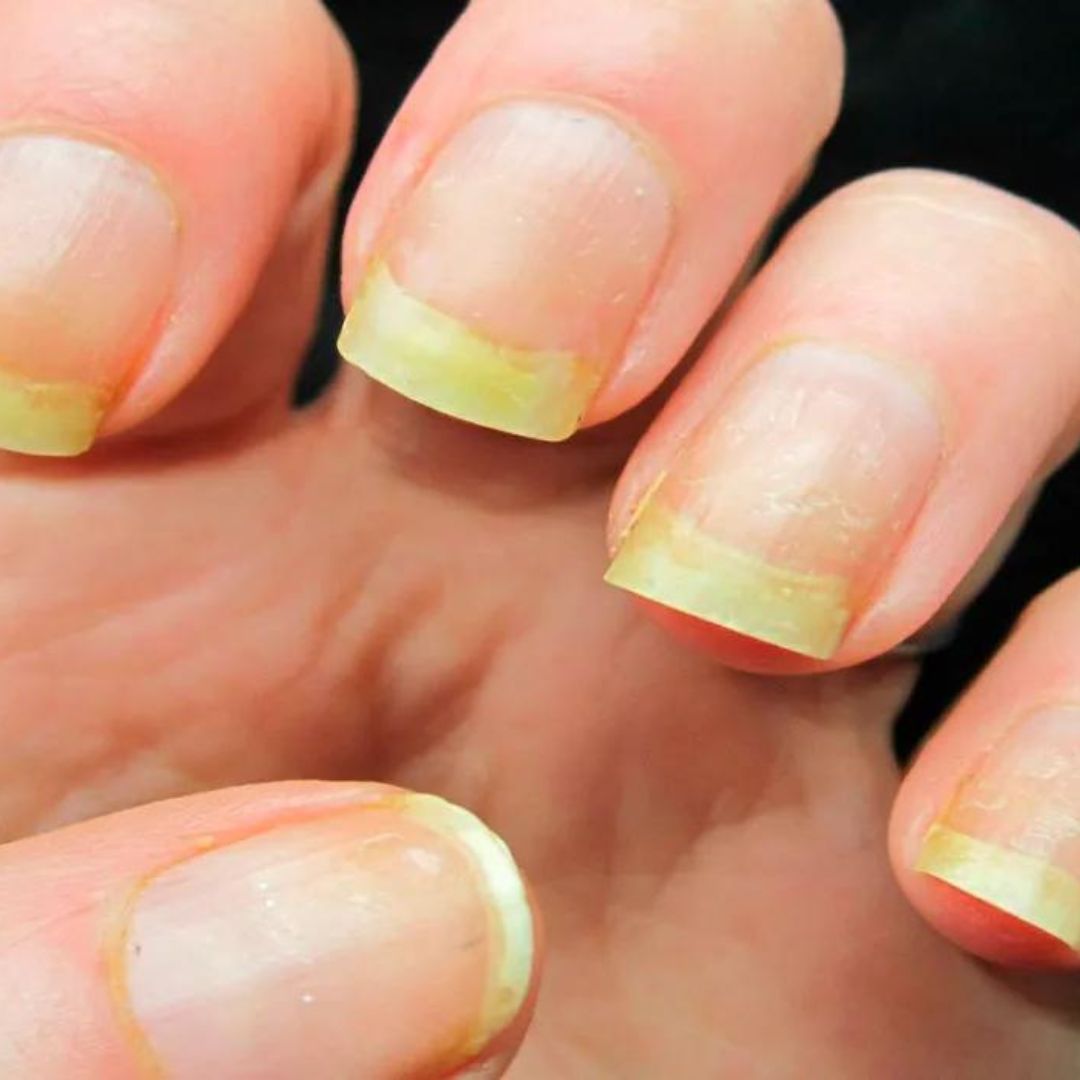
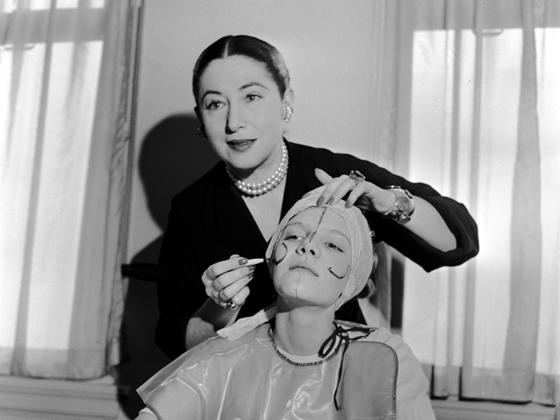
2. Remove previous polish properly and clean your hands
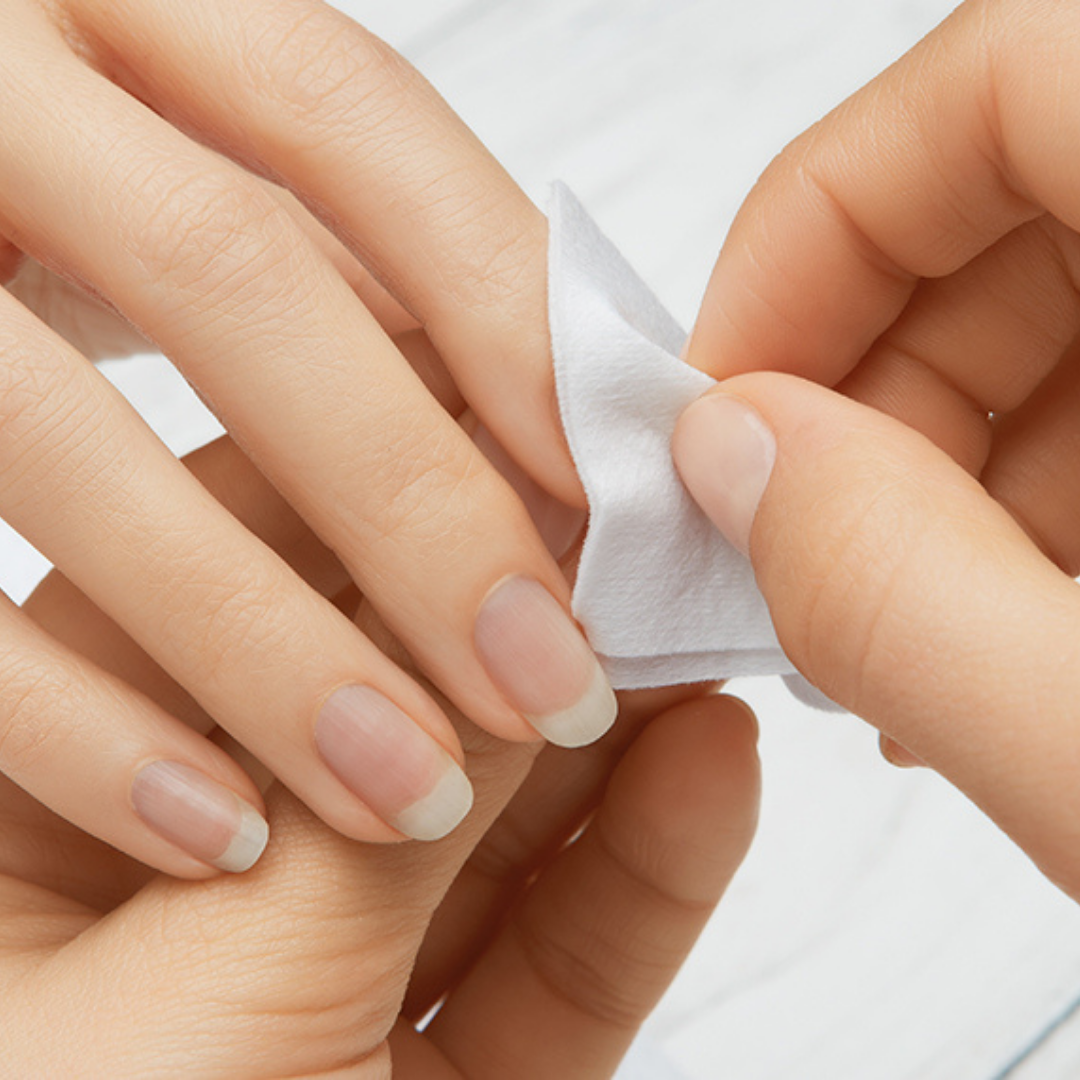
To properly remove nail polish, in addition to choosing an acetone-free nail polish remover to prevent it from weakening the nail's keratin layers, it's important not to rub the nail when removing it . Use a dragging motion, starting from the base of the nail and moving downwards, but without rubbing so as not to damage the nail and make it come off more easily . Another tip : soak a cotton ball in nail polish remover, place it on the nail, leaving it in contact for a few seconds, and then massage it in to remove. Then, clean your hands with soap and water to ensure that no particles remain on the surface of the nail and the polish adheres well.
3. The cuticles
With clean hands, soak them in warm water for a few minutes. This will soften the cuticles and make it easier to leave your nails in perfect condition for their new color. Dry your hands thoroughly with a towel and, using a nail brush, gently brush each nail to remove any remaining particles. Carefully push back the cuticle skin with an orange stick or cuticle pusher .
Once you accept that it's better to push back cuticles than to cut them—you should only cut those that stick out too far and unsightly, preferably with cuticle nippers —then it's time to moisturize with a cuticle-specific treatment. Let the oil dry thoroughly or spray a little alcohol on the surface of the nail: if it's too oily, it could prevent the polish from adhering properly.

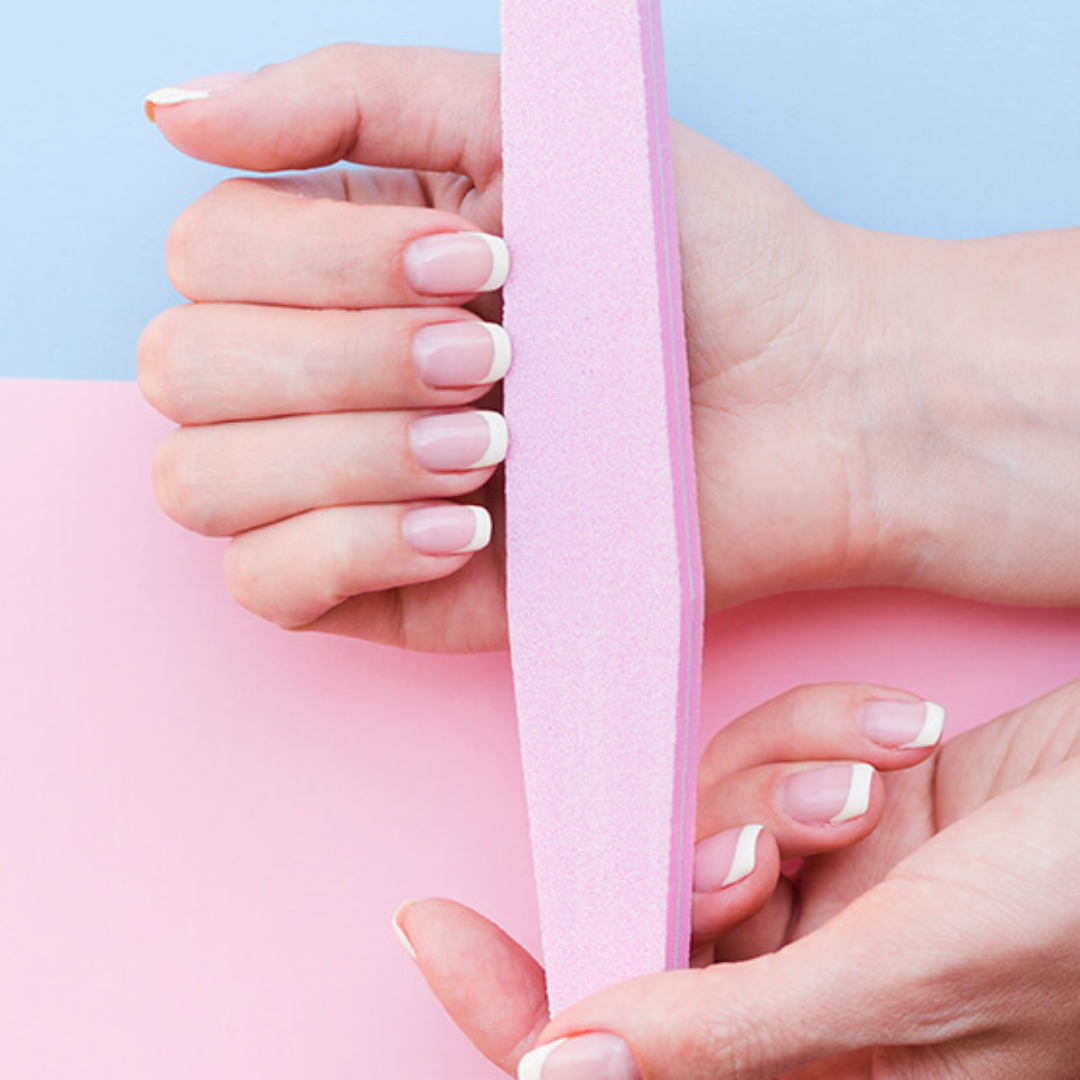
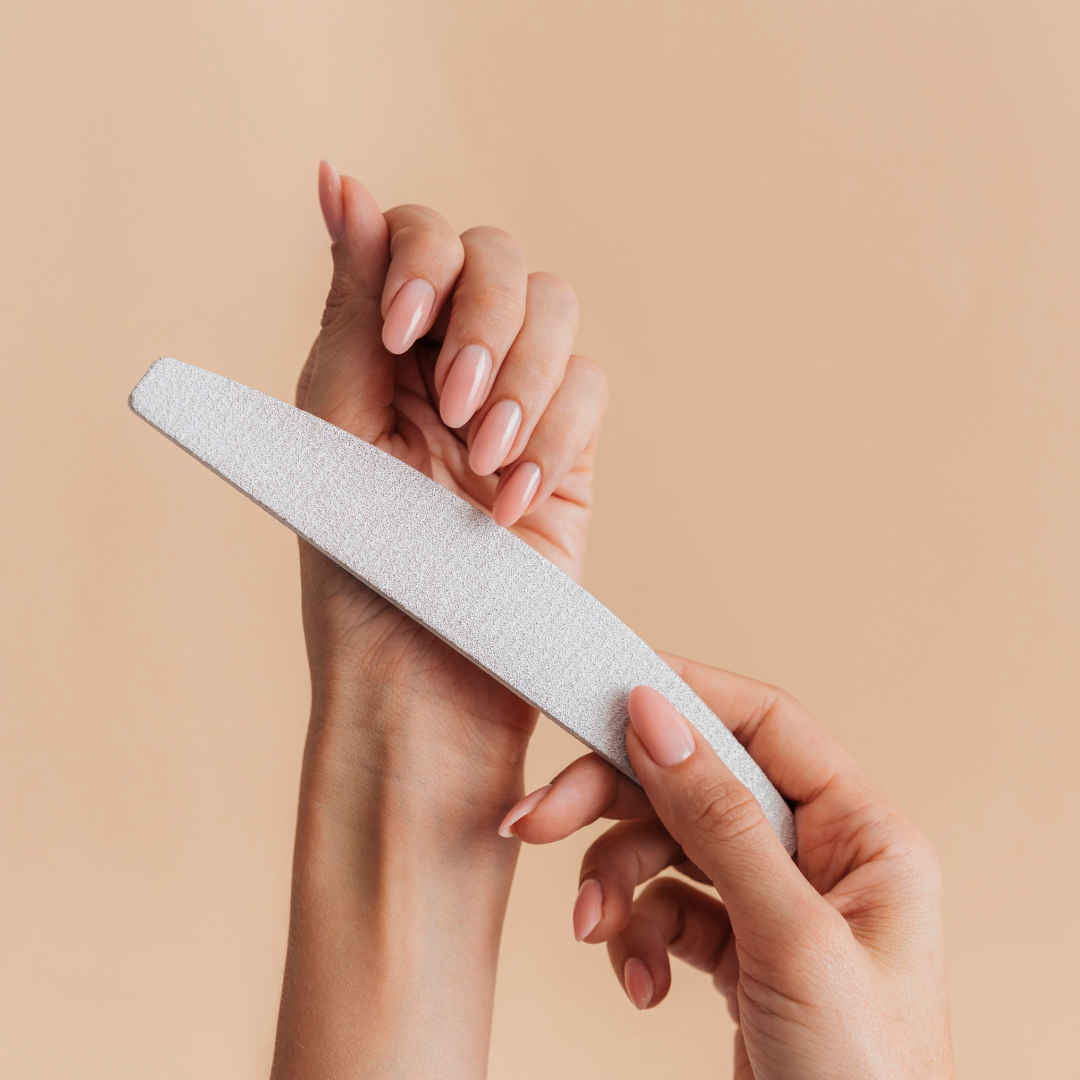
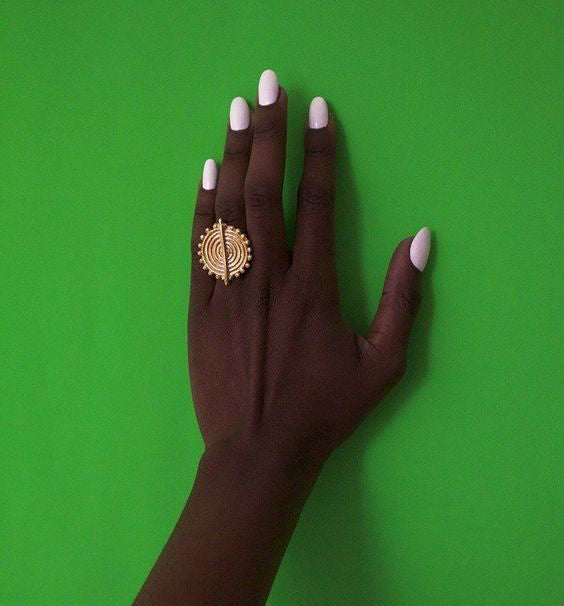
4. File, don't cut
Unless you have eagle-like nails and need to trim a lot, try to always file your nails instead of cutting them with scissors or nail clippers. The movements you use when filing your nails are also crucial to prevent them from breaking or flaking. Professionals recommend filing your nails from the sides and toward the center continuously, but with gentle movements. To give them a slightly rounded shape, don't just file in a straight line, but insert the file slightly under the nail and on the sides to achieve that rounded shape. This depends on the user's taste. The key is not to force them. It's important to remove any remaining skin around the nails, and this can be done effectively with nail clippers.
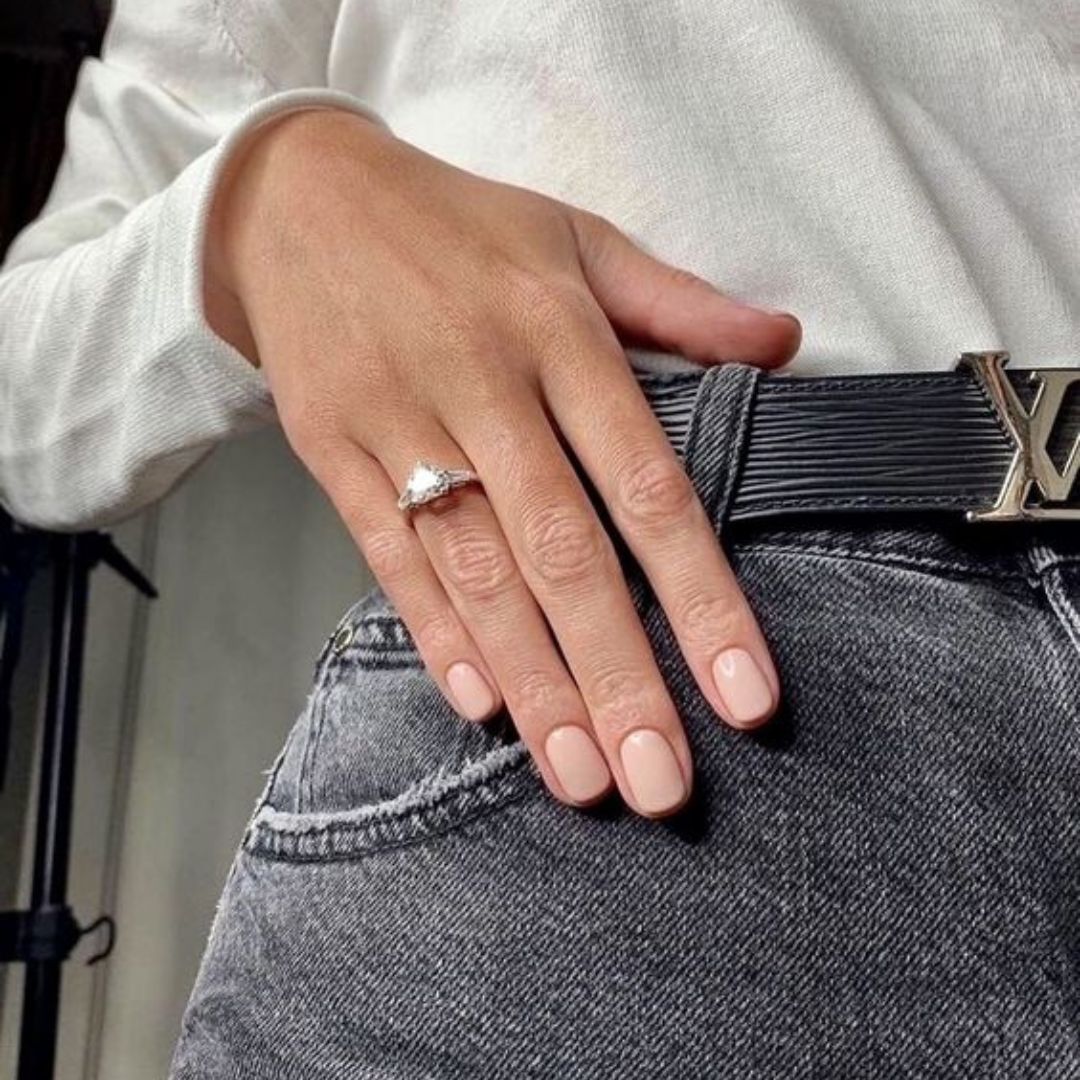
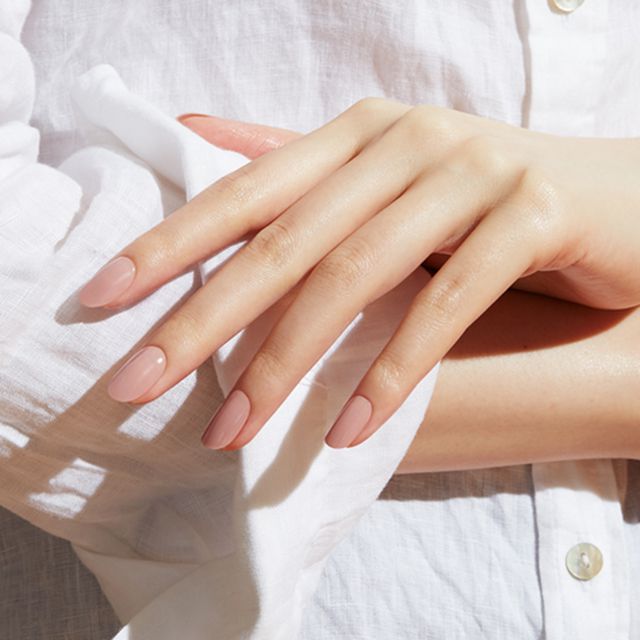
5. The key: a good foundation
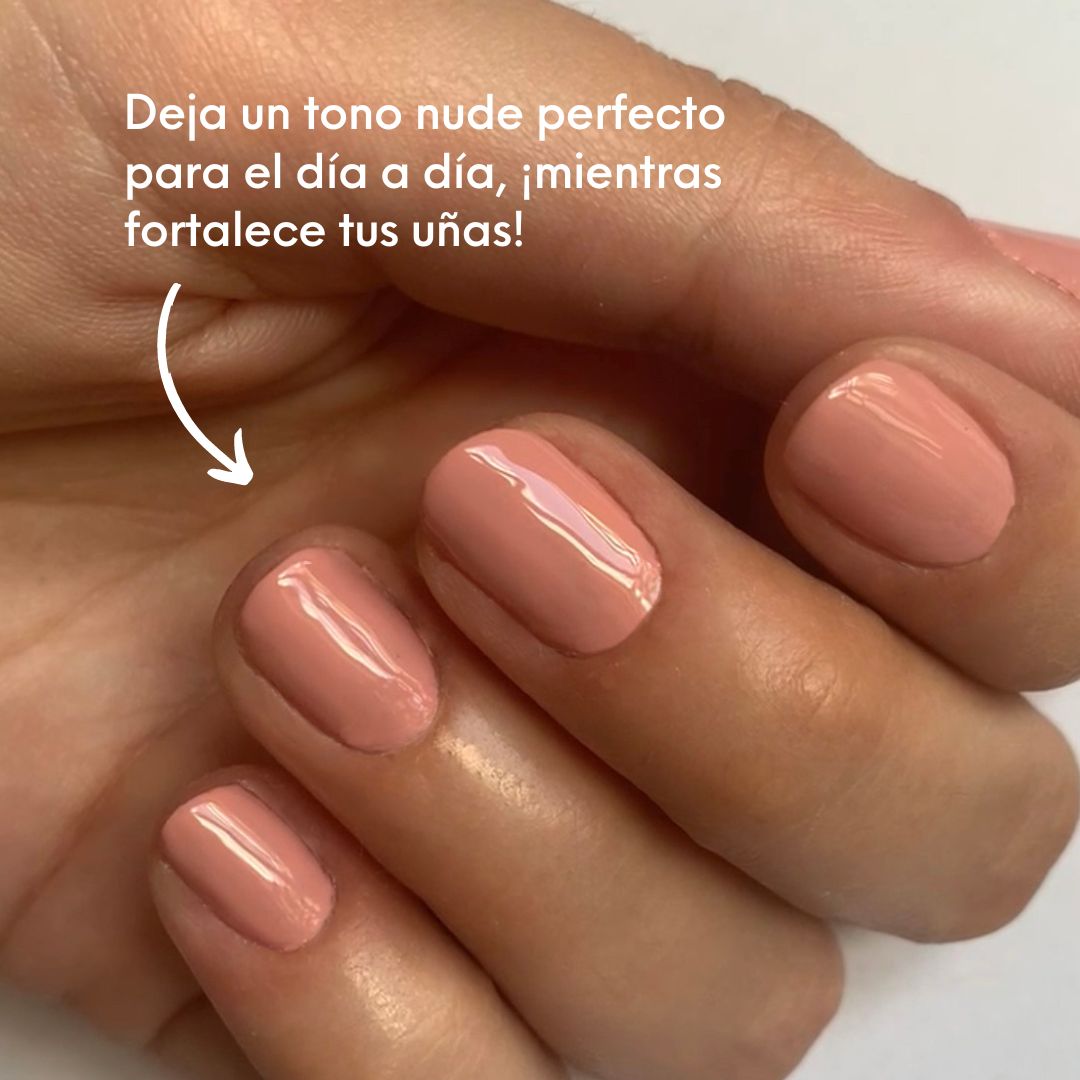
It may seem obvious, but it's fair and necessary to remember this: before applying any color to the nail, you need to apply a base coat that protects the nail , smooths it, and makes it easier to apply the polish. This is the only way to ensure the polish doesn't damage your nail. Our base coats are perfect for this step. The coat should be thin, and you have to let it dry thoroughly before applying the polish. Two great options for the base coat are, on the one hand, our Base Coat Nail Treatment , enriched with diamond powder known for its restorative action. Its avocado oil regulates the pH of the nails. It's antioxidant, strengthening, and regenerating. Plus, its dragon fruit extract. with moisturizing, mineralizing, vitaminizing and protective properties.

On the other hand, we have the Ridge Filler Cotton Treatment , a smoothing base. perfect hold, which smooths the surface of the nails thanks to its ultra-fine spherical particles. It is enriched with pumpkin extract, offering the The properties of vitamin E found in pumpkin seeds contribute to cell regeneration with its antioxidant effect. It also contains diamond powder, known for its restorative properties. Each person's nails are unique, and if yours have any ridges or irregularities, this treatment will help smooth them and prepare them for nail polish.

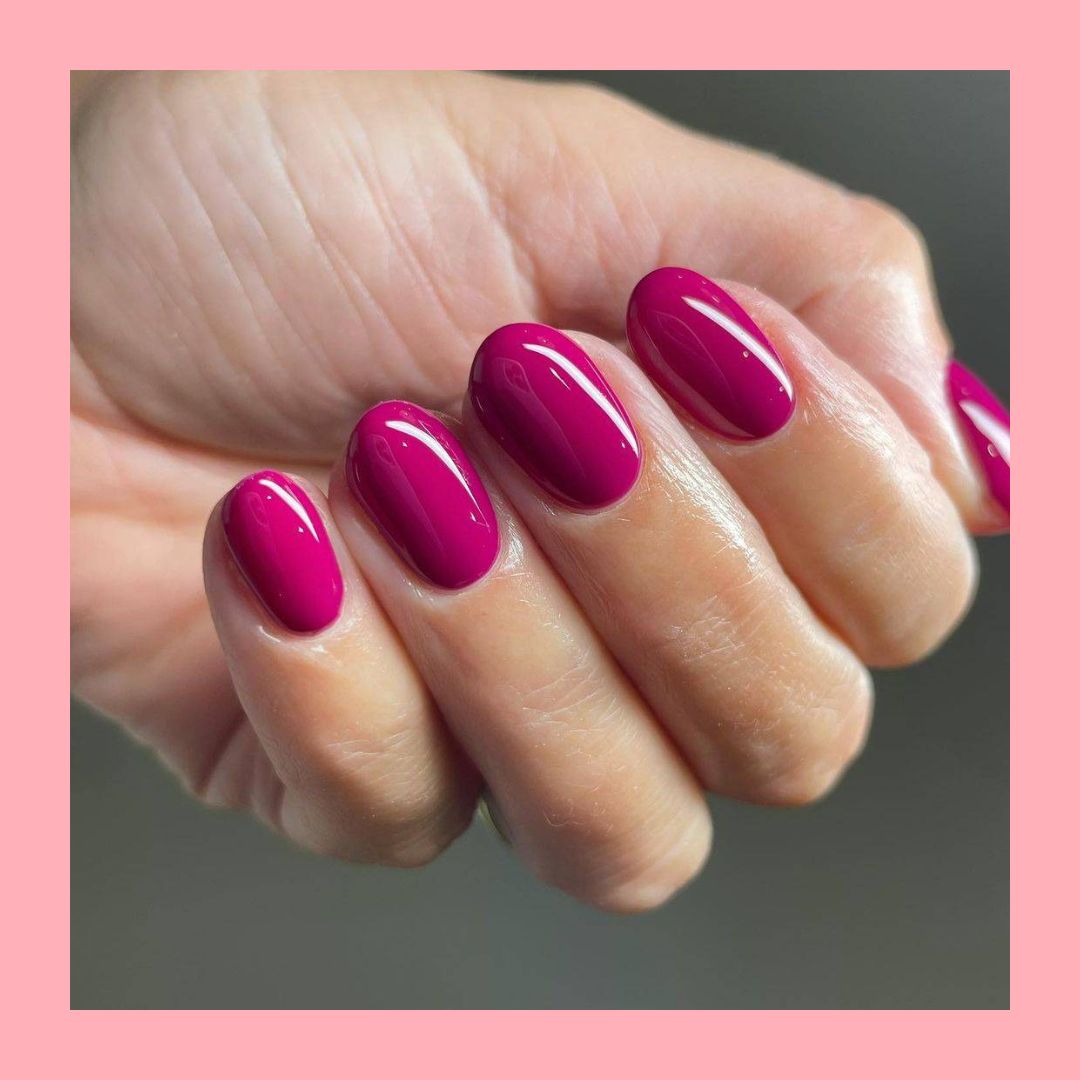
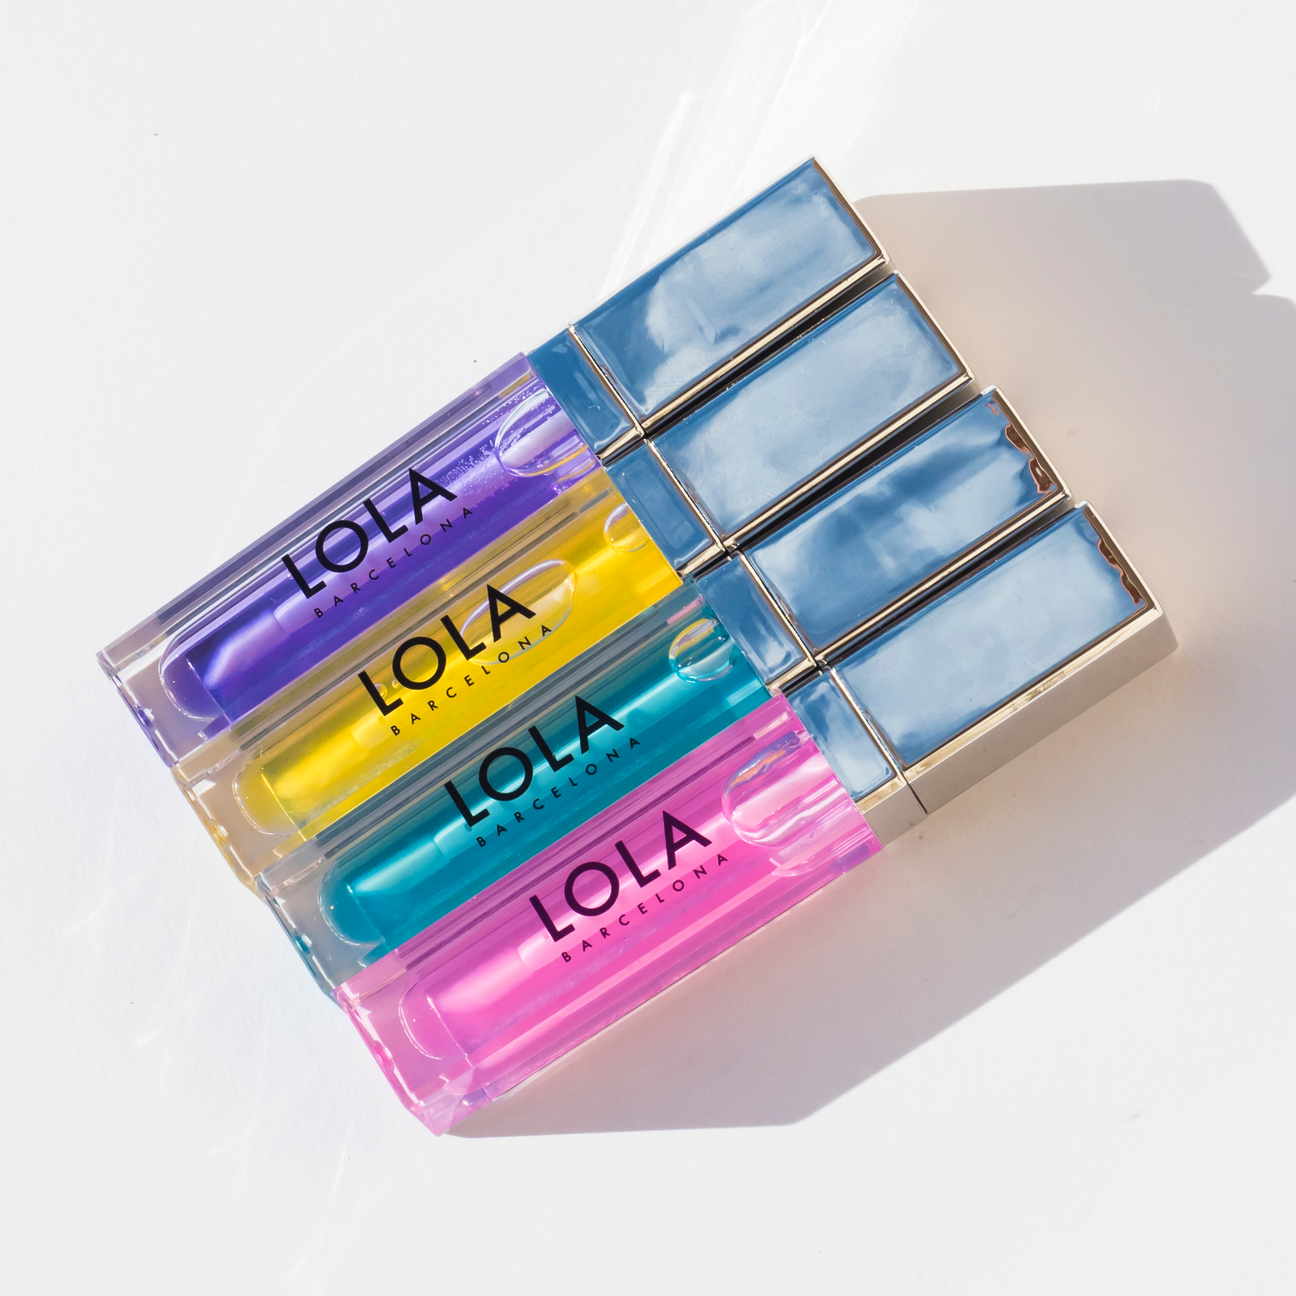
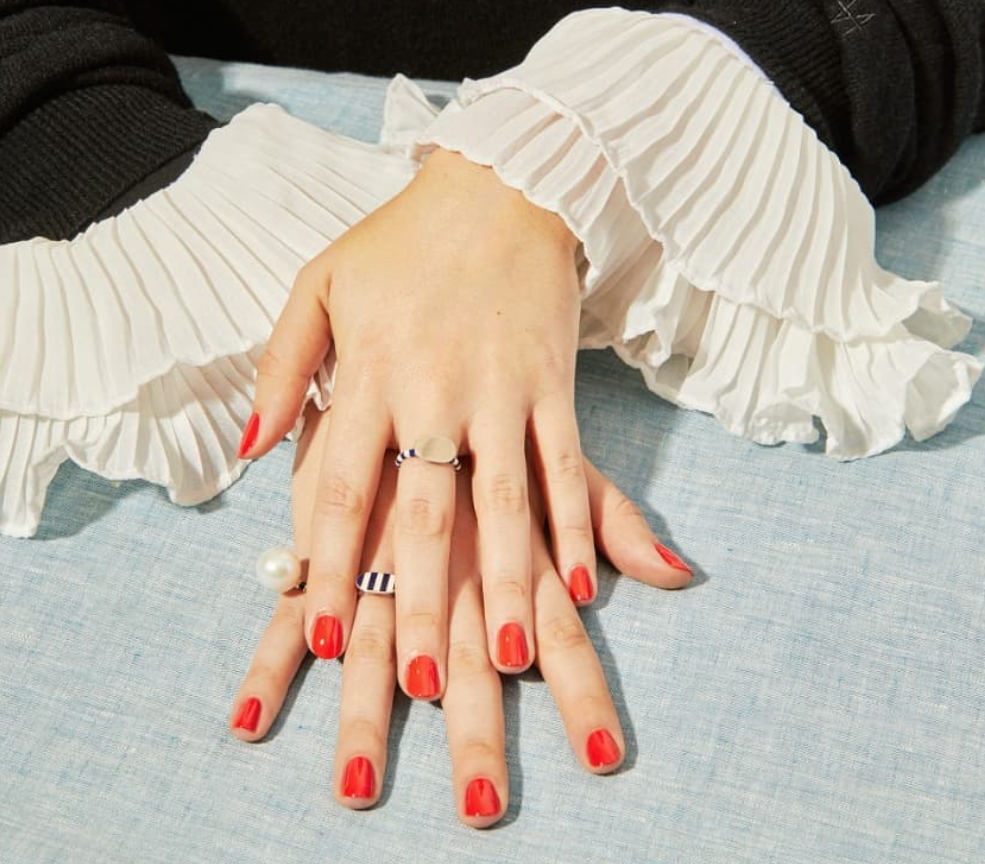
6. Time for the polish
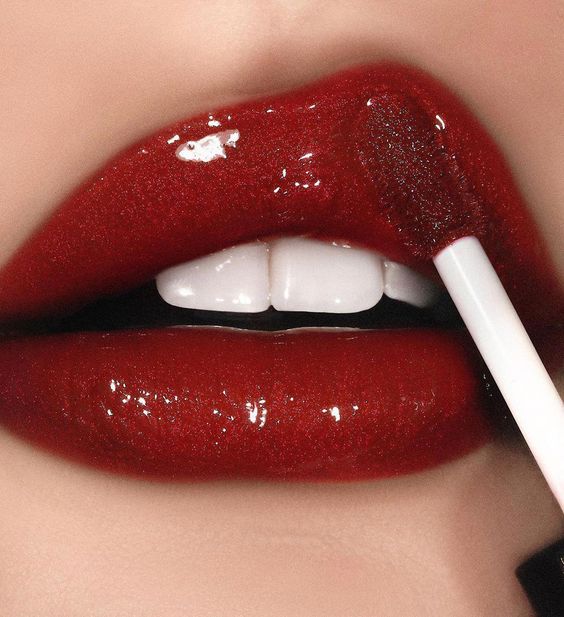
Once the base coat is completely dry, begin applying the polish. IMPORTANT: Apply one or two very thin coats, letting one coat dry before applying the final coat. Sometimes it seems like it's dried, and whoops! Your work is ruined because you may not have let the color dry properly between coats. To prevent this from happening, you should drain the brush before applying the polish and respect the drying time. Avoid applying thick coats, as they will take much longer to dry.
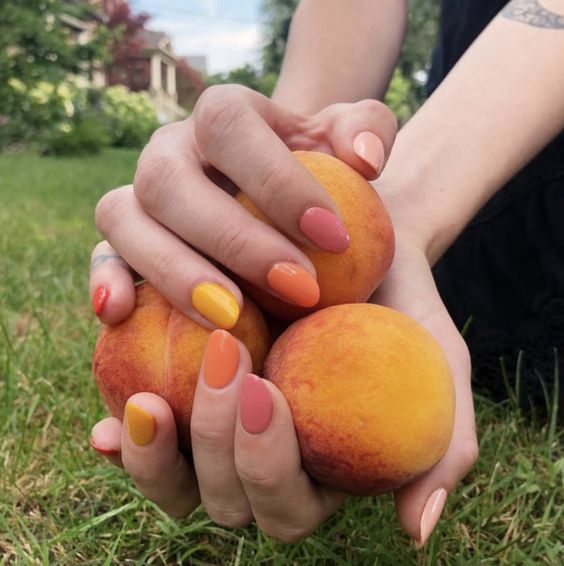
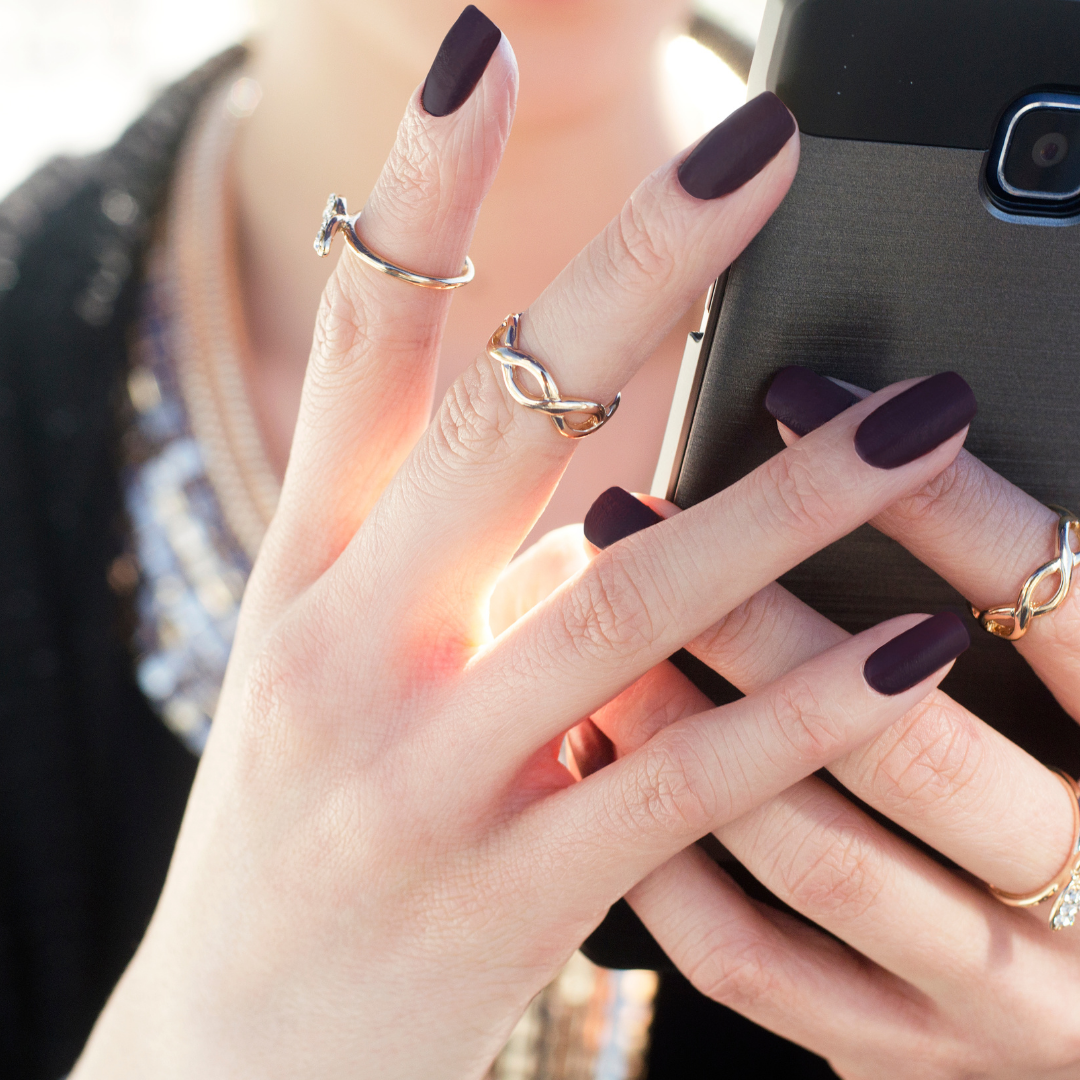
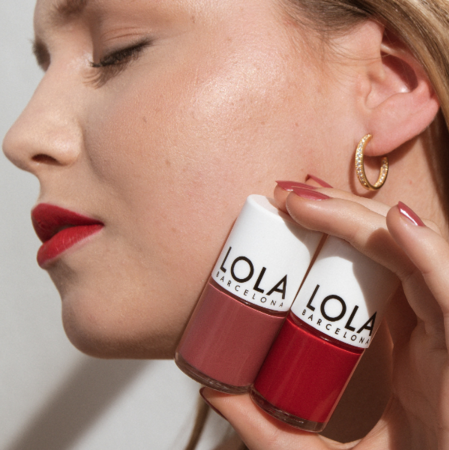
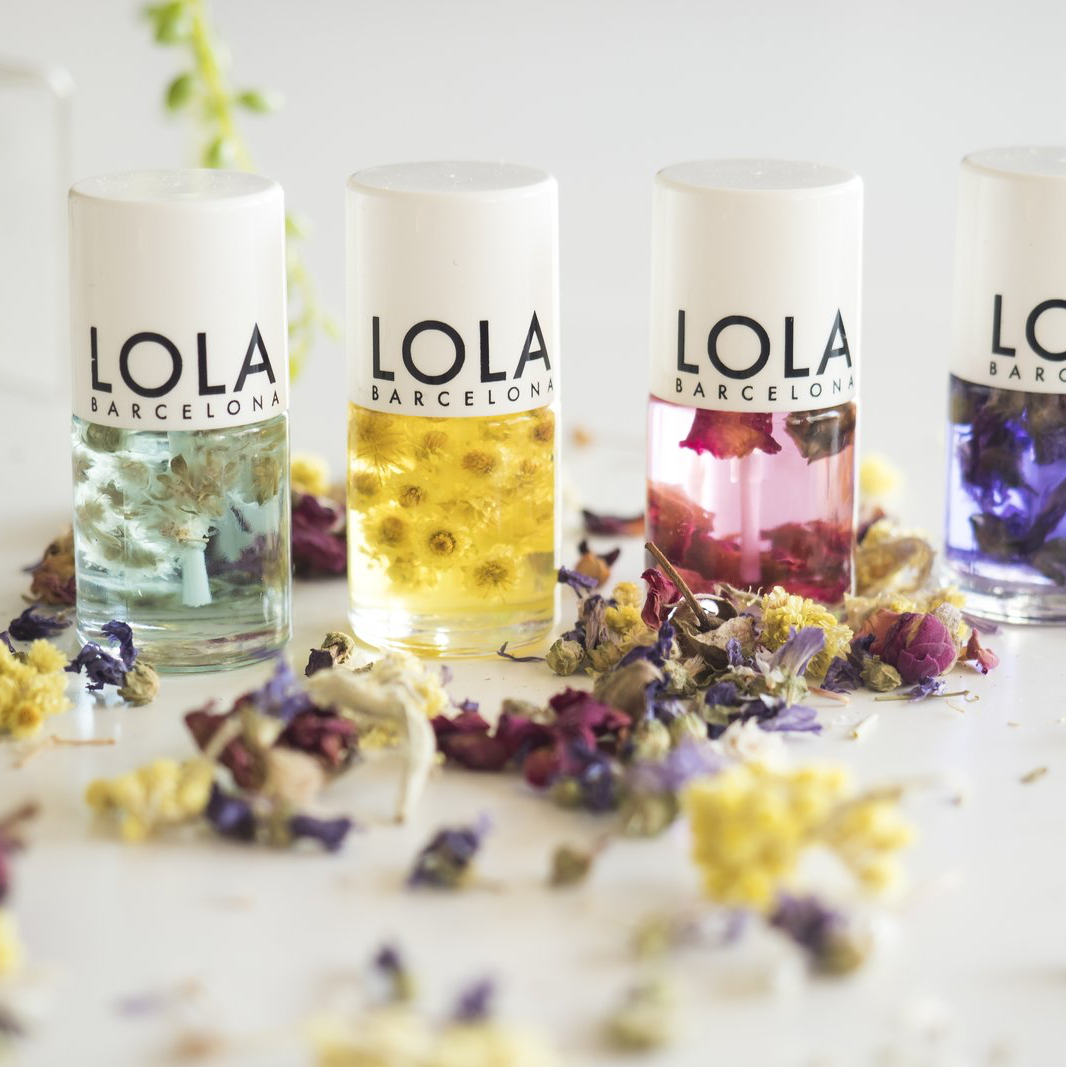
The quality of the nail polish is extremely important, and for experts, we are! As our own laboratory, we develop all our formulas to achieve excellent quality and ensure your nails are both beautiful and well-cared for. Our nail polishes are '8-free' , free of eight of the common toxins found in other brands: acetone, camphor, phthalates, formaldehyde, formaldehyde resin, silicone, toluene, and xylene. Its diamond-powder formula will give your nails vitality and strength so they grow strong, while also offering long-lasting results with an intense finish. We promise, if you do it right, these nail polishes will last more than a week. And of course, all our products are vegan and cruelty-free . You have more than 30 shades to choose from!

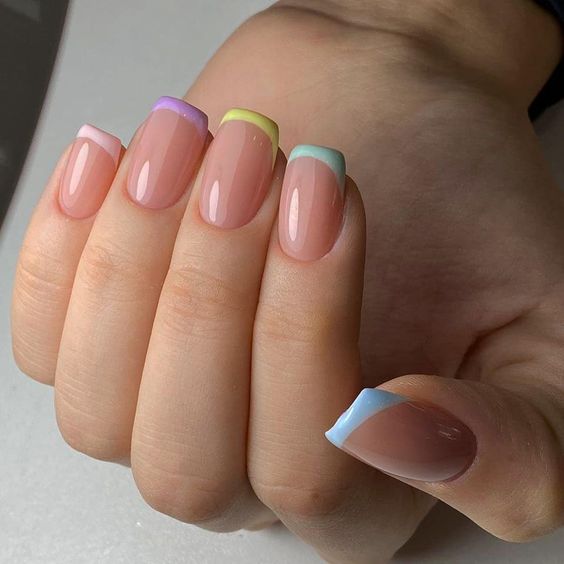
7. Final step: the Top Coat
The top coat, on the other hand, makes the polish last longer and the result is much shinier and more beautiful. A trick? Always apply very thin coats. of all products. Otherwise, it's very easy to ruin your manicure in record time. Apply it when the polish is completely dry. If you want a glossy finish, use our Top Coat, enriched with organic silicon, a mineral essential for nail strength and vitality, and reinforced with bamboo extract for added hydration.

If you want a different finish, use the Matte Top Coat , which will mattify any of our colors and give you a perfect, ultra-matte manicure with a velvety effect. Both will help seal the polish so it lasts a long time.

We prefer to air dry everything, as it preserves the shine that remains afterward much better.
And that's all we'd do when getting our manicure. It's clear that everyone has different techniques; this is our humble advice.
If you have any questions, you can contact us via social media, email, or WhatsApp (which you'll find on our Instagram profile).
A little kiss, Lolitas!