3 Nail Artists Explain How to Do Three Trending Manicures
Nail art is experiencing a renaissance. After these months of confinement, many of you have perfected your manicure skills and have been inspired to try designs you'd never tried before. Trends emerge, multiply, and then disappear, only to reinvent themselves again over time, each time at ever more dizzying speeds.
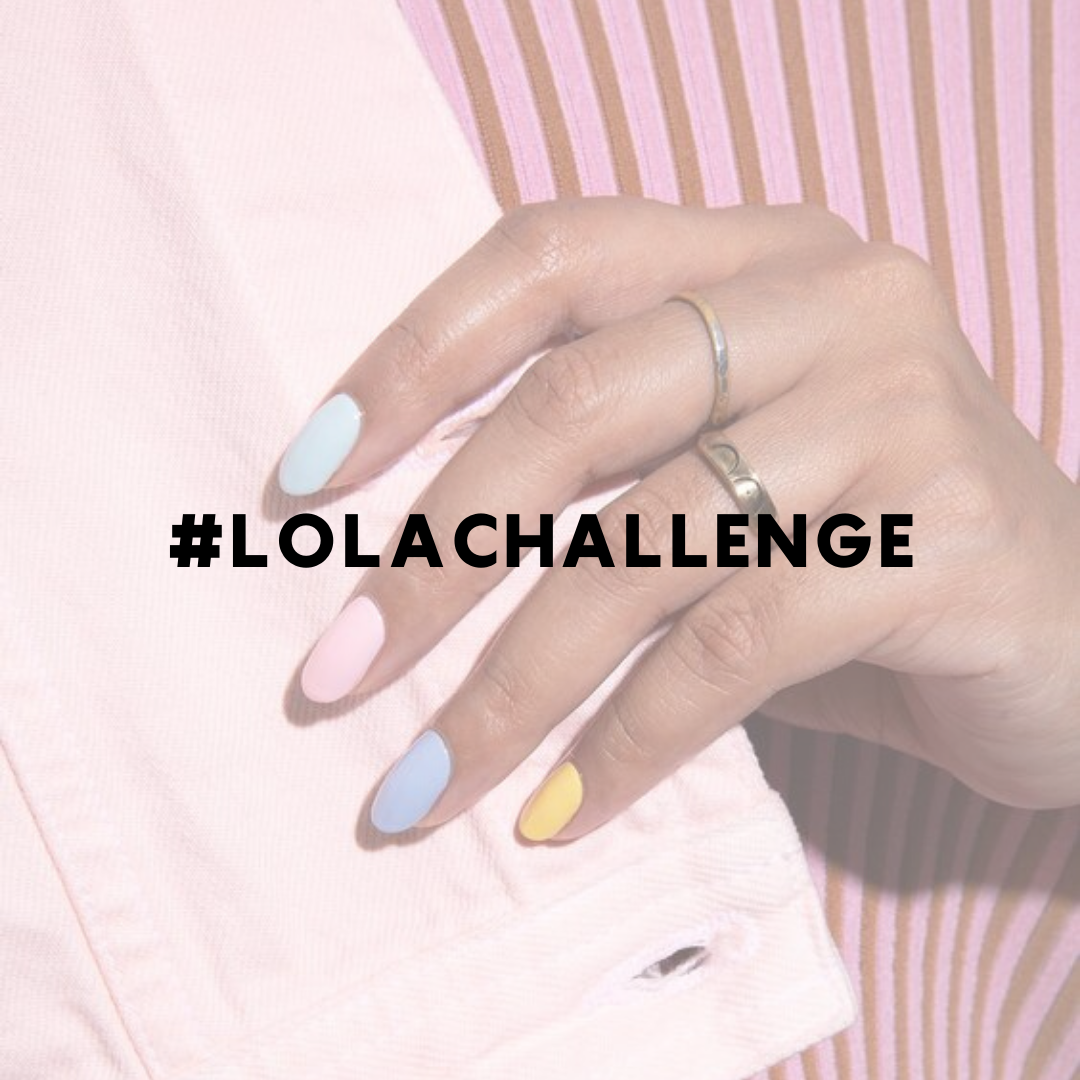
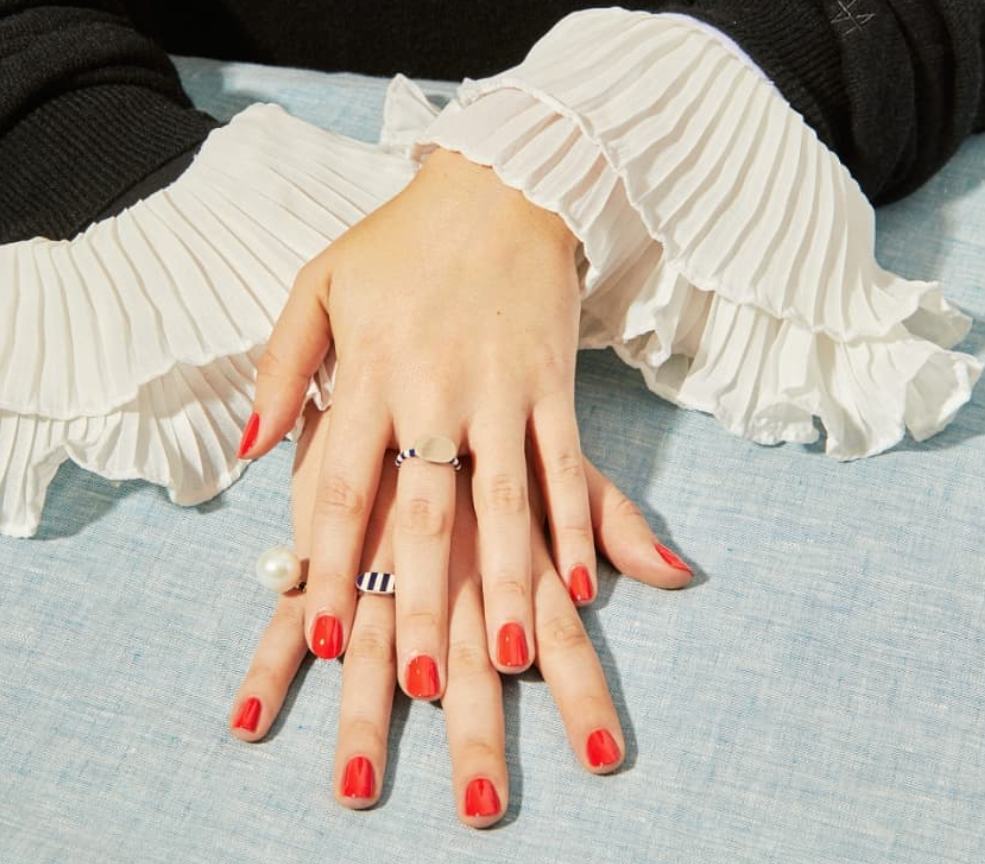
Among all these trends, three have impressed manicurists and fashion editors around the world: the French manicure, negative space, and new nail shapes. We've found some designs explained by three prestigious New York-based manicurists.
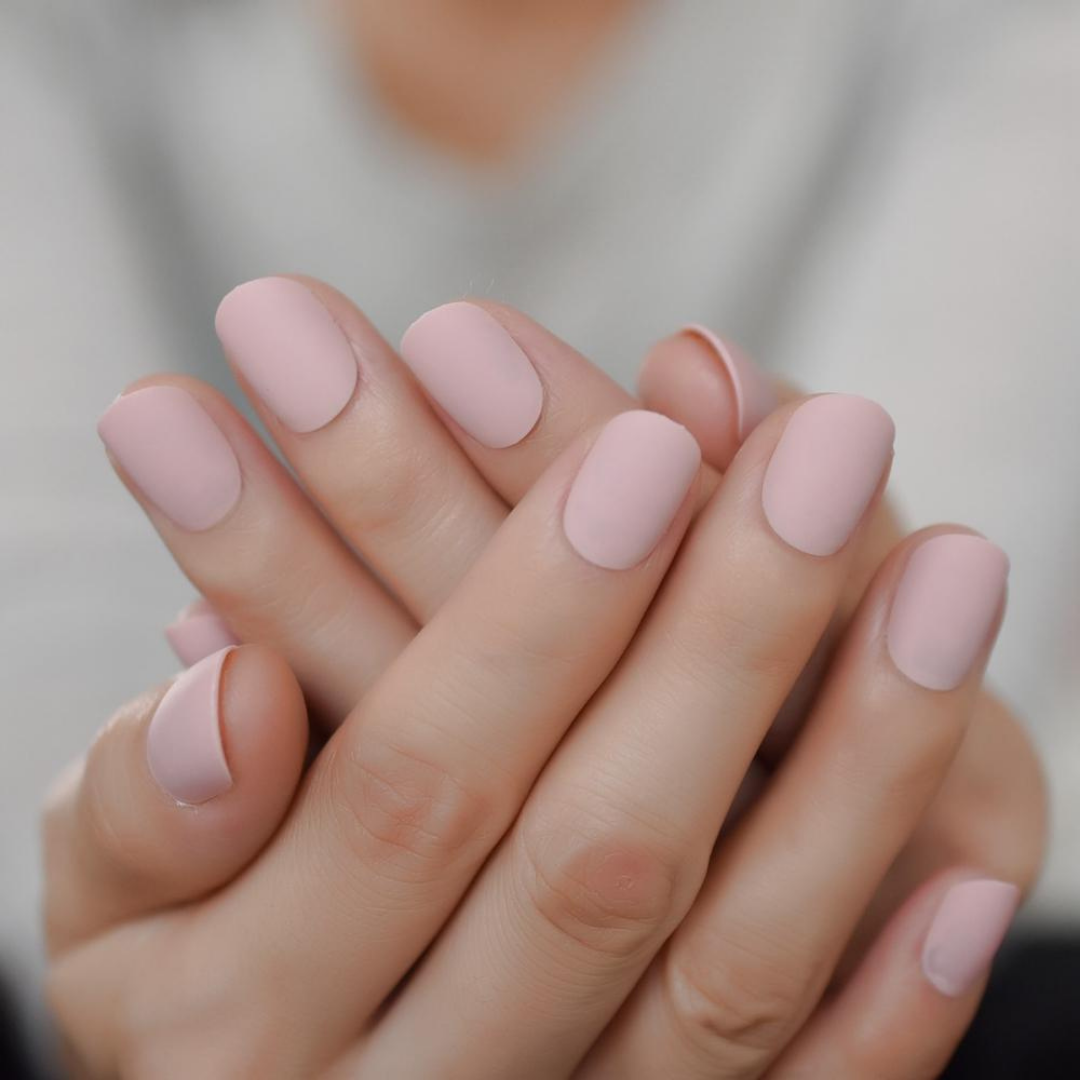
Lolly Koon was tasked with reinventing the French manicure. She discarded the idea of a classic look in her new designs: "It doesn't have to be a perfect C curve," Koon tells us. Because many of us do our own manicures and have to paint with our non-dominant hand, she offered designs that don't require such perfection in execution.
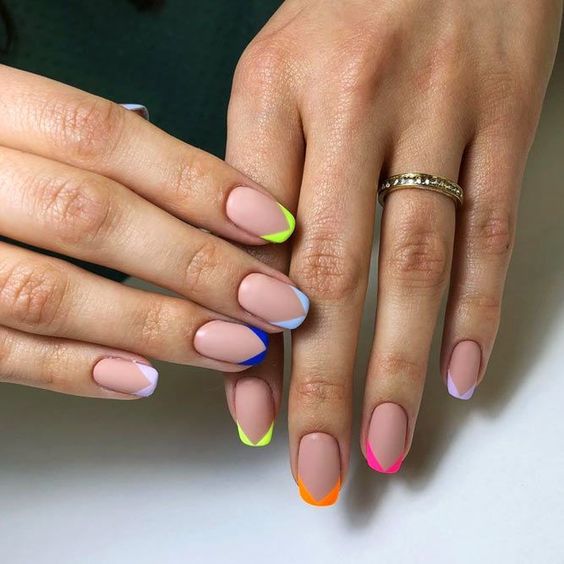
In December 2019, Gina Edwards predicted that negative space would be a major nail trend in 2020. Of course, she was right. "Even for the most discreet, who don't want to draw too much attention to their nails, I think they're a good introduction to nail art," she explains.
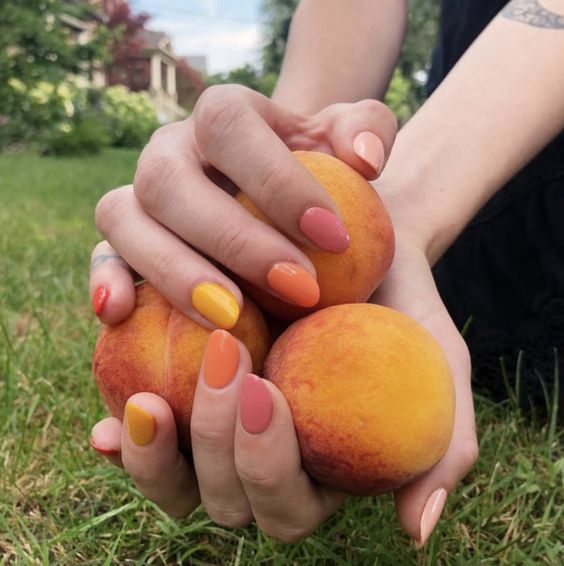
New nail shapes have also taken over tips not only here but also in South Korea. In the United States, Naomi Yasuda believes the rise of nail art has encouraged people to experiment with new shapes. She herself has experimented with square and almond shapes for over a decade, so we knew she'd have fun ideas to share.
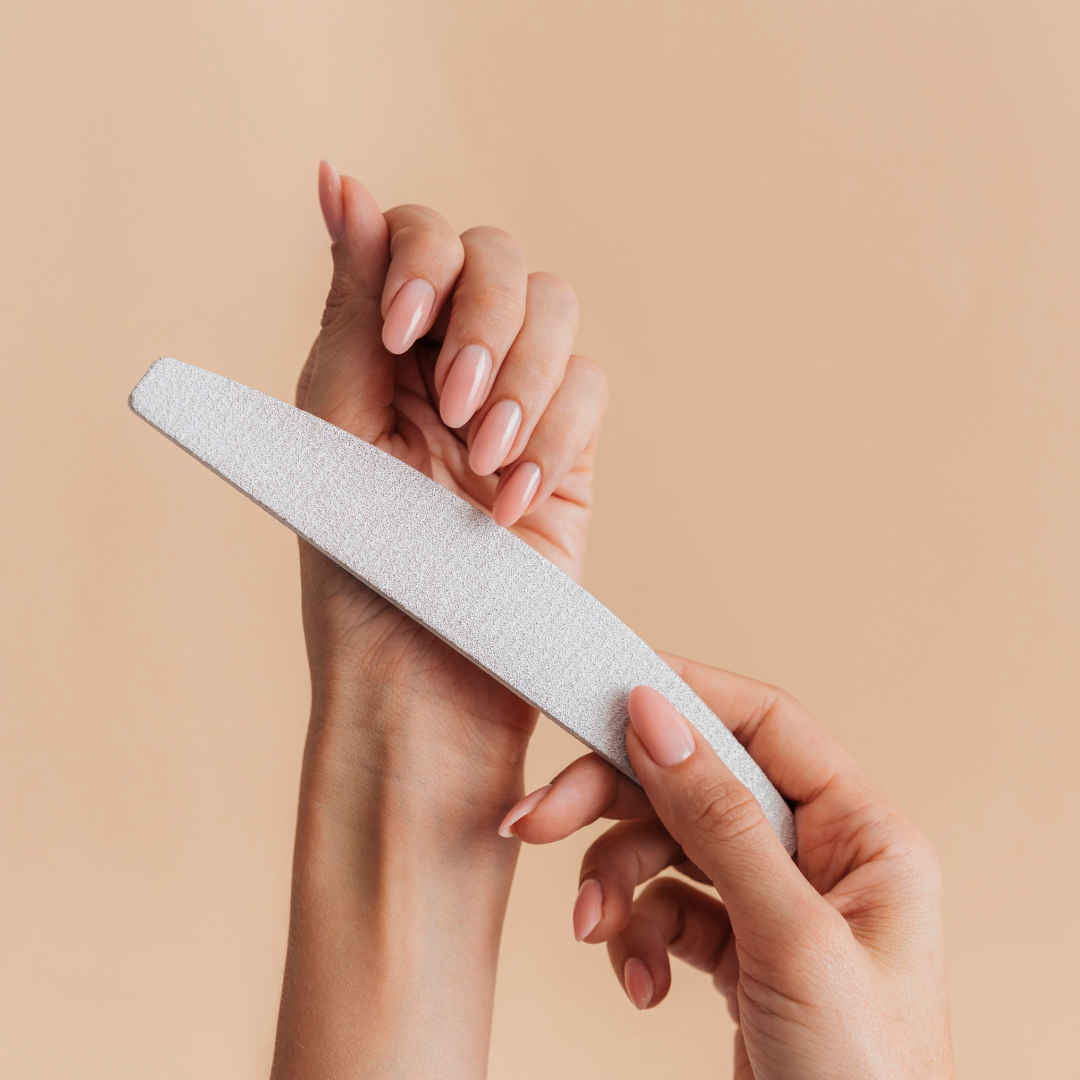
Let's see the designs that these manicurists invite you to do at home:

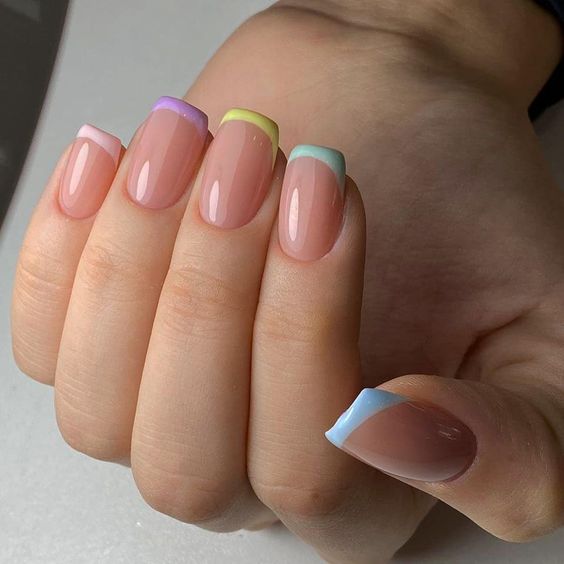
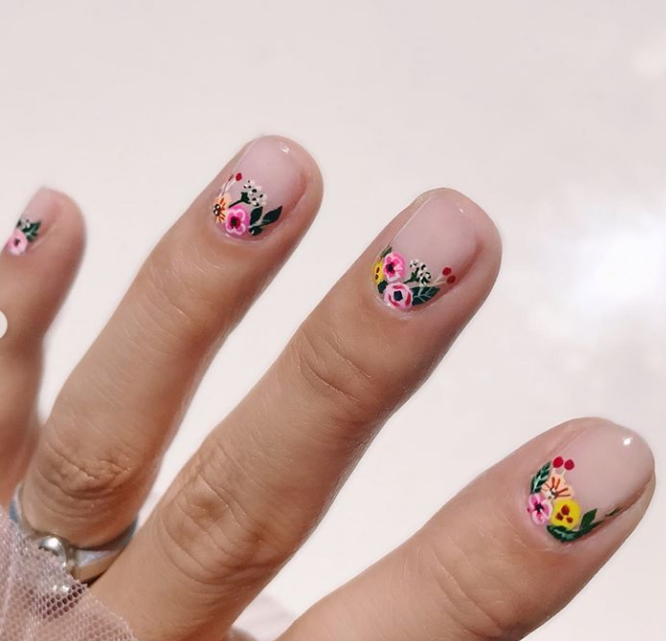
1. French combining textures and colors

Koon combined matte and satin finishes for a French manicure with contrasting textures. You can create the base color by mixing regular nail polish with white (to soften and make it pastel) and applying a matte top coat to mattify the base. When it's dry, paint the tips in the same colors without white and add a layer of glossy top coat to that area only.
For a perfect half-moon design, Koon has a trick. Place the polish brush in the center of the nail and make a small indent. Then, make arcs on either side of the nail that connect to it. "If you go from one side to the other, one side will be thick and the other side will be thin because you're going to get all the polish on one side," Koon explains.

2. Negative space: abstract waves
Edwards came up with this design when the Black Lives Matter protests were just beginning. "I was trying to reflect on the issue because it affects me the way it affects a lot of people," she recalls. "I subconsciously started making black designs; I had an emotional connection to the color because of what's happening."
The pattern reminds her of waves of water. She etched them with an ultra-fine brush and black polish , drawing them in before completing them. The most important part of the process: "You have to make sure it dries completely," Edwards notes. "When you put on top coat , it can damage the design by diluting it."

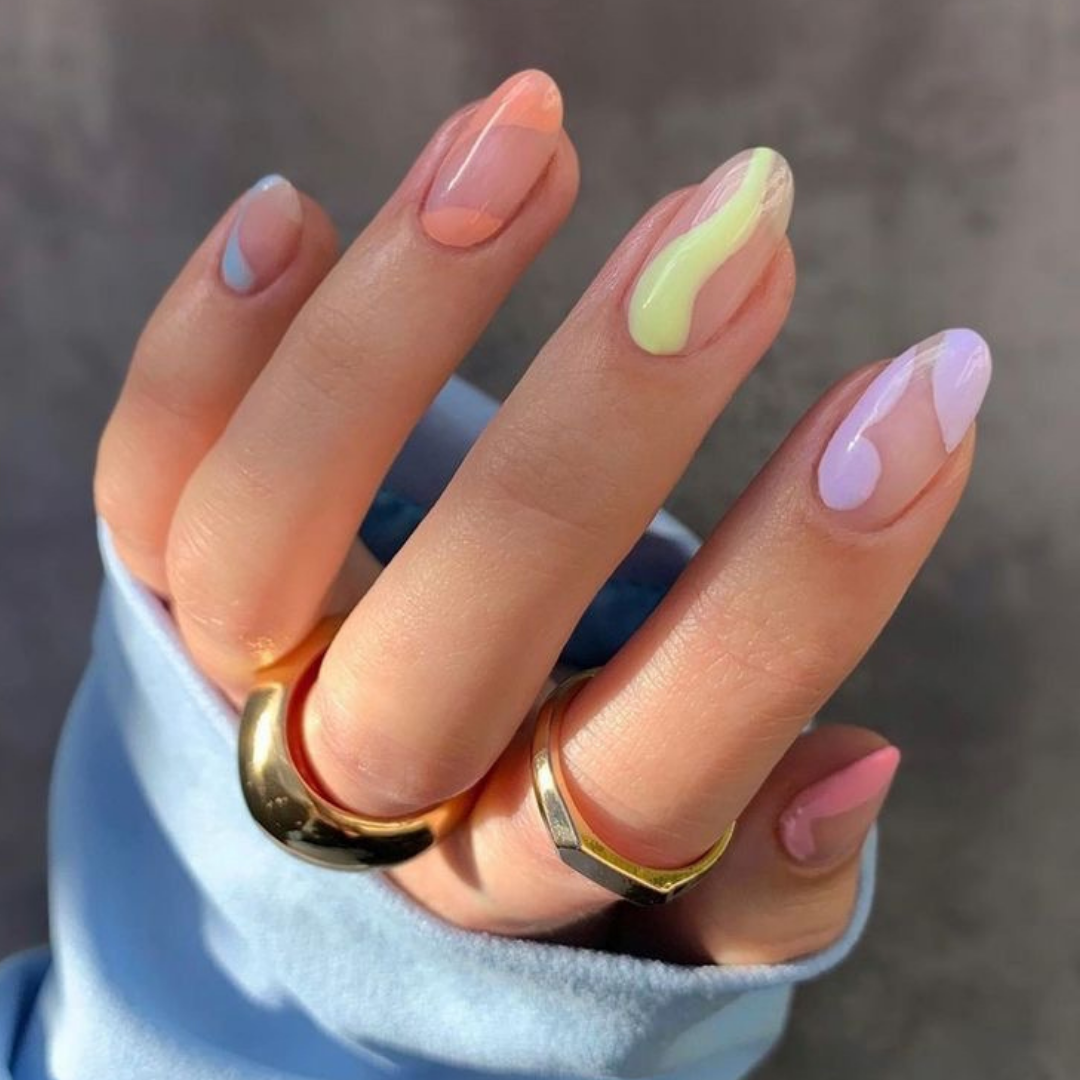
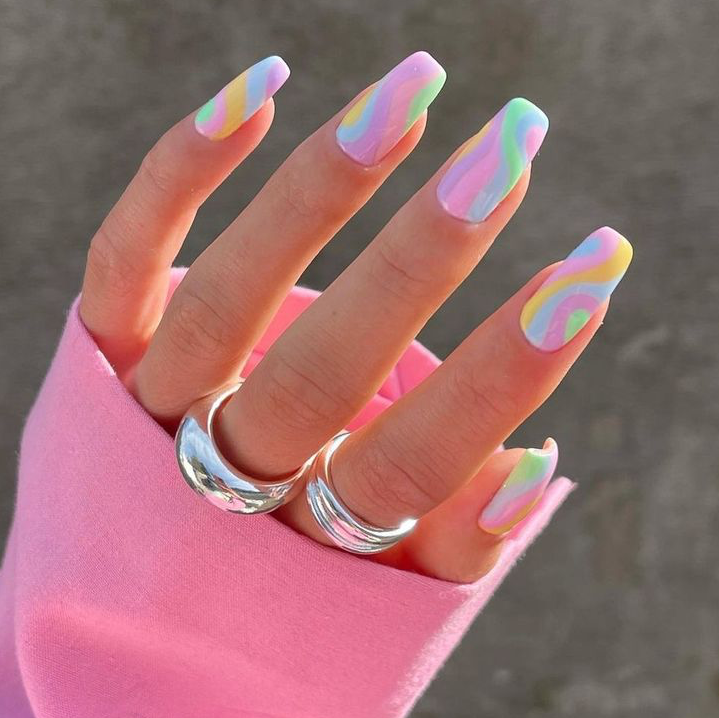
3. Experiment with shapes: psychedelic swirls
NOT FOR THE CLASSIC. To create this neon and pastel polish madness, Yasuda created this set with wavy tips. This one is the trickiest, as you'll need a nail drill or a lot of patience with the nail file to get the edges smooth. Fortunately, there are affordable tools available for personal use if you're ambitious.
Swirled polish can be easily replicated at home. She perfected marbled polish on wax paper with a special at-home nail adhesive technique she discovered while in lockdown.
First, Yasuda poured generous drops of magenta, peach, tangerine, black, and gray polish onto a small piece of wax paper (you'll need to make a rectangle large enough to cover all your nails). Then, she blended them together in swirls with a fine brush. After letting the polish dry about 85%, she peeled the paint off the wax paper and cut it to fit each nail. To properly set the handmade decals, she first painted on a layer of base coat before pressing the decal on. Finally, she applied a top coat.